Irresistible Red Velvet Cupcakes: A Complete Guide
Moist, fluffy, and decadently rich—this easy red velvet cupcake recipe delivers bakery-style results at home! Featuring a hint of cocoa, vibrant crimson color, and a tangy cream cheese frosting, these cupcakes are perfect for Valentine’s Day, birthdays, or anytime you crave a classic Southern treat. ✅ Quick prep time ✅ Beginner-friendly steps ✅ Stunning visual appeal for social media
8/10/20257 min read
Irresistible Red Velvet Cupcakes: A Complete Guide
Seriously, who doesn't secretly dream about biting into the perfect soft & moist red velvet cupcake? You know the one—that deep, slightly tangy crimson cake that practically dissolves on your tongue, all crowned with a thick, tangy swirl of cream cheese frosting? Yeah, I thought so. Forget those dry, crumbly imposters that leave you questioning all your life choices. I’m here to spill all my secrets. I’ve wasted more baking powder than I care to admit chasing this holy grail of velvety perfection, and I finally cracked the code. Ready to stop settling for "meh" cupcakes and start wowing everyone (including yourself)? Let's dive in, shall we? 🧁
Why Red Velvet is So Much More Than Just "Red Chocolate Cake"
People throw around the term "red velvet" like it’s just a color scheme, but trust me, it’s an experience. If your red velvet tastes suspiciously like a basic vanilla cake with food coloring, you’re missing out, big time. What makes it truly special?
Essential Baking Tools (Affiliate Picks from Amazon)
Below are the essential tools that streamline your baking process and elevate your results:
Digital Kitchen Scale - Accurate measuring for dense or quick-bread style recipes.
Hand Mixer - For combining ingredients, though often mixed by hand for a chunkier texture.
Silicone Spatula Set- Gently combining the batter to prevent over-mixing (key for muffins).
Dry Measuring Cups and Spoons - Measuring flour, oats, sugar, spices.
Liquid Measuring Cups - Measuring yogurt, milk, oil, or buttermilk.
Mixing Bowl Set - Combining ingredients separately before mixing.
Wire Cooling Racks - Cooling muffins so the bottoms don't get damp.
Oven Thermometer - Ensuring heat penetrates the thicker batter evenly.
Parchment Paper - Lining baking sheets.
Offset Spatula (Small) - Lightly leveling batter in the cups.
Whisk - Blending liquid ingredients or dry ingredients quickly.
Silicone Bowl Scraper - Scraping the last of the thick batter from the bowl.
Timer - Monitoring bake time, as muffins often take longer than cookies.
Sifter - Sifting dry ingredients for a lighter texture.
Cookie Scoop - Uniformly filling muffin cups.
Cupcake Pan (12-cup) - The essential pan for muffin shape.
The Magic Trio: Buttermilk, Vinegar, and Cocoa
The flavor profile of a truly magnificent red velvet comes down to a delicate dance between a few key players. It’s not about heavy chocolate flavor; it’s about subtlety.
Buttermilk is Non-Negotiable: You absolutely must use buttermilk. It brings a distinct, essential tang that cuts through the richness. I once tried substituting it with regular milk and a splash of lemon juice—never again. It tasted sad, honestly. 😔
The Chemical Reaction: The reaction between the buttermilk and a little bit of vinegar does some fantastic work with the baking soda, helping create that light, tender crumb we crave.
Cocoa’s Gentle Touch: We only use a tiny bit of unsweetened cocoa powder. Too much, and bam! You have a standard chocolate cupcake with an identity crisis. We want a whisper of chocolate, not a shout.
Ever wondered why that slight tang is so addictive? It balances the sweetness of the sugar and the richness of the butter perfectly. FYI, the original recipe didn't even use much red dye; the slight reaction between the acidic ingredients and the cocoa created a natural reddish-brown hue! Cool, right?
Mastering the Unbeatable Soft & Moist Crumb
This is where most home bakers stumble. How do we keep these delicate beauties tender, even the next day? It boils down to technique and ingredient temperature.
Temperature Control is Your New Best Friend
Baking is science, and temperature is its mood ring. Treat your ingredients right, and they reward you with deliciousness.
Room Temperature Everything: I mean everything. Eggs, buttermilk, even the butter if your recipe calls for creaming. Why? Because room temperature ingredients emulsify much better. This creates a smoother, more uniform batter that traps air efficiently.
Creaming the Butter and Sugar: Don’t rush this step! Beat that butter and sugar together until it’s genuinely light and fluffy—pale yellow and airy. This step incorporates the air that gives your cake its initial lift. Think of it like fluffing a pillow before you nap on it; essential preparation!
Mixing: The Gentle Art
Once you add the dry ingredients, you need to back off. Seriously, put the mixer on the lowest setting, or better yet, switch to a spatula.
Never Overmix! Overmixing develops the gluten in the flour, turning your promised soft cloud into a chewy tire. Mix just until the streaks of flour disappear. I usually stop the mixer, finish the last few stirs by hand, and breathe a sigh of relief that I avoided the gluten monster. IMO, this is the single most crucial step for a moist cupcake.
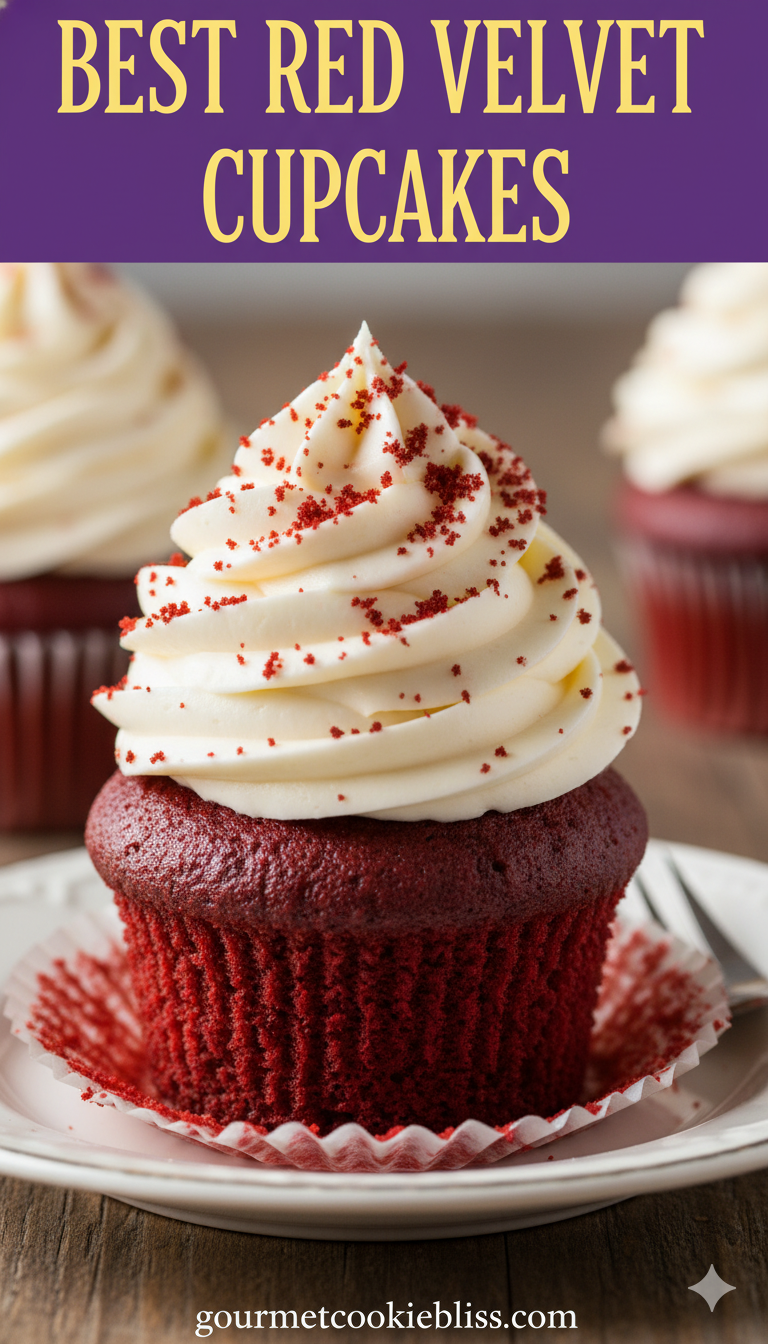
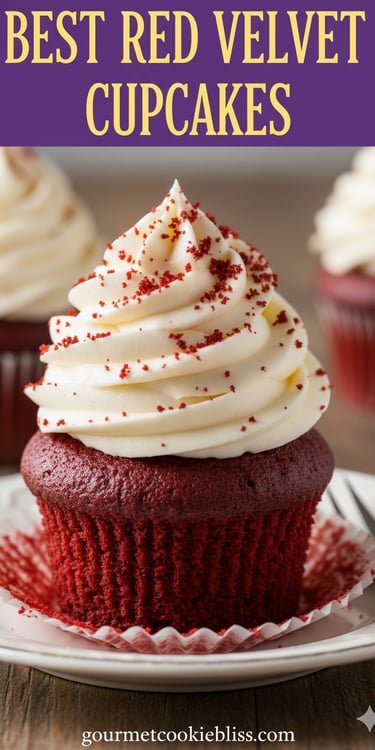
The Star Topping: Our Dreamy Cream Cheese Frosting
A red velvet cupcake without killer cream cheese frosting is like a sneaker without a tongue—technically functional, but deeply disappointing. We need tangy, creamy, and stiff enough to pipe.
Achieving Frosting Perfection (It’s Easier Than You Think)
The biggest foe here is usually warm cream cheese or too much liquid.
Cold Cream Cheese is the Secret: I used to think room temp was best for everything, but for frosting stability, use slightly chilled cream cheese. It holds its shape better when you beat in the powdered sugar and butter.
The Butter Temperature Balance: Your butter should be softened, not melted or greasy. It needs to be pliable so it incorporates smoothly with the cream cheese without making the whole batch runny.
The Tang Factor: Don't skimp on the vanilla extract or the fresh lemon juice (if your recipe calls for it). That slight acidic hit is what makes the frosting pop against the cake’s richness.
If your frosting seems too soft, pop the bowl in the fridge for 15 minutes and then beat it again. Patience pays off, folks! If it’s too stiff, add a tiny splash of milk, one teaspoon at a time. Are you picturing that perfect swirl yet? I know I am! 🤤
Baking and Cooling: The Final Frontier
You’ve mixed the perfect batter; now don't mess up the bake! This part requires focus, though it’s relatively simple.
Oven Etiquette for Optimal Rise
Lining the Pans: Use good quality paper liners. Cheap liners tend to stick like glue, ruining the presentation of your masterpieces. I always double-line for extra insurance against leakage.
Filling the Cups: Don't overfill! Fill each liner about two-thirds full. Any more, and you’ll get those "muffin tops" that never sit right under a swirl of frosting. Who wants a dome that needs shaving? Not us!
Don't Peek! Seriously, stop opening the oven door every five minutes. It causes temperature fluctuations and will make your beautiful cakes collapse. Trust the recipe timing, and only check when the time is almost up. A toothpick inserted should come out with a few moist crumbs attached, not wet batter.
The Cooling Process: Patience, Young Grasshopper
Cooling is often rushed, leading to cracked tops or frosting sliding off like a bad vacation tan.
Initial Cool Down: Let the cupcakes rest in the pan for about 5 minutes. This allows them to firm up slightly so they don't fall apart when you move them.
Wire Rack Transition: Transfer them immediately to a wire cooling rack to cool completely. Air circulation underneath prevents the bottoms from getting soggy—a cardinal sin in the cupcake world. Cooling completely is essential before frosting. Frosting warm cupcakes is like trying to build a sandcastle during high tide; it ends in tears.
SEO Keywords & Essential Tips Recap
To make sure everyone searching for the best soft red velvet cupcakes finds this gem, let's hit some key points again.
Key Ingredients for Moisture: Buttermilk, small amount of cocoa, and room temperature eggs.
Technique Tips: Do not overmix the batter, and cream the butter and sugar properly.
Frosting Stability: Use slightly chilled cream cheese for that perfect, pipeable texture.
I've shared my hard-won wisdom, and I genuinely hope you find this recipe to be your forever go-to for moist red velvet cupcakes. Baking should be fun, not fraught with anxiety. Remember, even if one comes out a little wonky, it still tastes delicious when covered in that amazing cream cheese frosting, right? 😉
Go forth and bake something legendary! I can't wait to hear about your results. Happy baking, friend!
Affiliate Disclosure: Hey there! Just a quick heads-up: Some of the links or product mentions in this article might be affiliate links. That just means if you click one and make a purchase, I might earn a small commission at no extra cost to you. It helps keep my mixing bowls full and the blog running! I only recommend things I genuinely use and love.
Soft & Moist Red Velvet Cupcakes With Cream Cheese Frosting (Recipe Card Style)
Yields: 12 standard cupcakes
Prep time: 20 minutes
Bake time: 18-22 minutes
Cupcake Ingredients:
1 ½ cups all-purpose flour
1 teaspoon baking soda
1 teaspoon unsweetened cocoa powder
½ teaspoon salt
1 cup granulated sugar
½ cup unsalted butter, softened to room temperature
2 large eggs, room temperature
1 teaspoon vanilla extract
1 teaspoon white vinegar
1 cup buttermilk, room temperature
1-2 teaspoons red food coloring (gel works best!)
Cream Cheese Frosting Ingredients:
8 ounces cream cheese, slightly chilled
½ cup unsalted butter, softened
3-4 cups powdered sugar, sifted
1 teaspoon vanilla extract
1 teaspoon fresh lemon juice (optional, for extra tang)
Instructions:
For the Cupcakes:
Preheat your oven to 350°F (175°C). Line a standard 12-cup muffin tin with paper liners.
In a medium bowl, whisk together the flour, baking soda, cocoa powder, and salt. Set aside.
In a large bowl, use an electric mixer to cream together the sugar and softened butter until light and fluffy (about 3-4 minutes).
Beat in the eggs one at a time, mixing well after each addition. Stir in the vanilla extract.
In a separate small bowl, whisk together the buttermilk, vinegar, and red food coloring.
Gradually add the dry ingredients to the butter mixture, alternating with the buttermilk mixture, beginning and ending with the dry ingredients. Mix only until just combined—do not overmix!
Divide the batter evenly among the 12 liners, filling each about two-thirds full.
Bake for 18-22 minutes, or until a toothpick inserted into the center comes out with a few moist crumbs attached.
Let the cupcakes cool in the pan for 5 minutes, then transfer them to a wire rack to cool completely.
For the Frosting:
In a large bowl, beat the slightly chilled cream cheese and softened butter until smooth and creamy.
Gradually add the sifted powdered sugar, one cup at a time, beating well after each addition.
Mix in the vanilla extract and lemon juice (if using). Beat on high speed for 1-2 minutes until light and fluffy. If too soft, chill for 15 minutes before piping.
Once the cupcakes are completely cool, frost generously and enjoy!
BEST Gourmet Cookie Recipes
Contact:
bestgourmetcokies@gmail.com
Best Gourmet Cookie Recipes © 2025. All rights reserved.