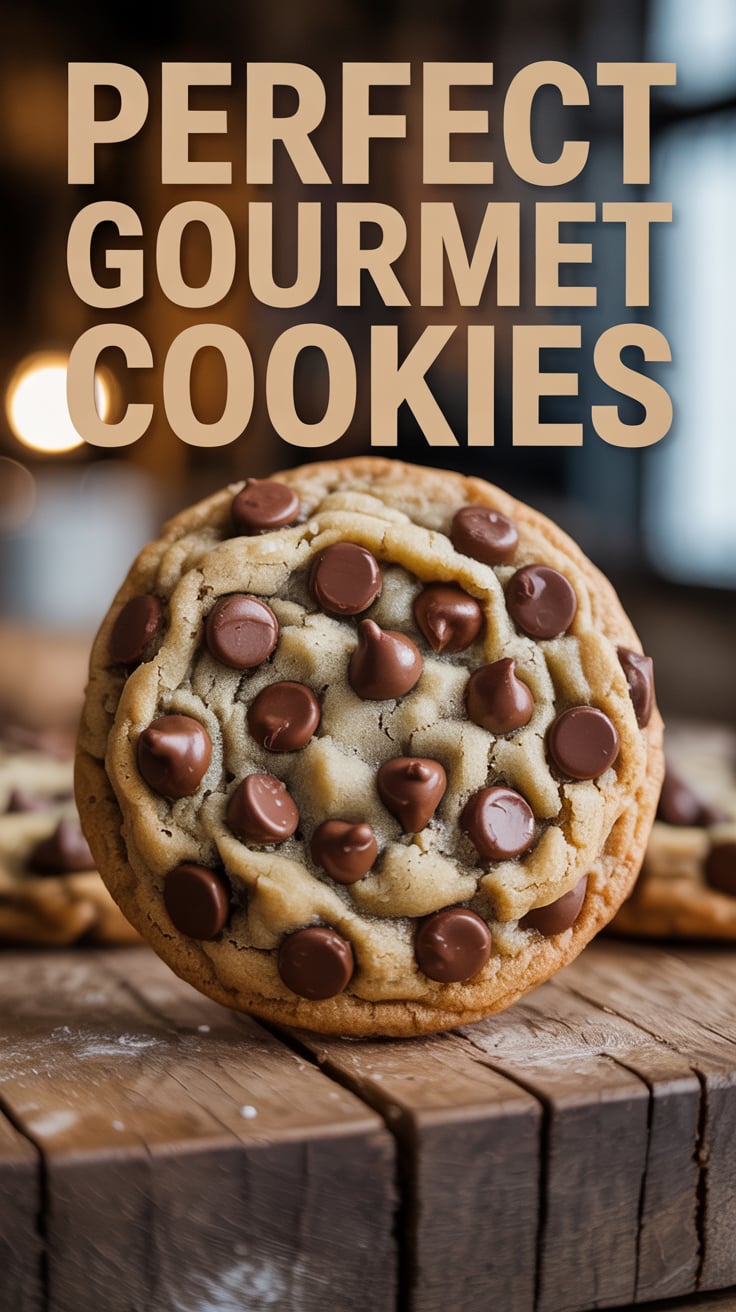
The Ultimate Guide to Baking Perfect Gourmet Cookies Every Time
Unlock the secrets to baking perfect gourmet cookies! This ultimate guide shares essential cookie baking tips, from choosing quality ingredients and mastering mixing techniques to chilling dough and troubleshooting common problems like flat cookies. Learn how to bake homemade cookies perfectly every time with actionable steps and expert advice. Get ready for delicious results! #CookieBaking #HomemadeCookies #BakingTips #GourmetCookies #CookieRecipe #BakeFromScratch #DessertRecipes #CookieLover #BakingGuide #PerfectCookies
5/6/20259 min read
The Ultimate Guide to Baking Perfect Gourmet Cookies Every Time
Hey there, fellow baking enthusiast! So, you love cookies, right? Who doesn't! There's something incredibly comforting and delicious about a warm, freshly baked cookie straight from the oven. Maybe it's the soft chewiness, the satisfying crisp edge, or the burst of chocolatey (or whatever-your-flavor-is!) goodness.
But let's be real. Have you ever followed a recipe to the letter, only to pull out a tray of flat, greasy discs or hard, dry hockey pucks? You're not alone! We've all been there, staring sadly at our cookie failures. Baking cookies seems simple, but there are definitely some nuances that separate the 'okay' from the 'OMG, these are amazing!'.
That's exactly what this guide is all about. I'm going to walk you through everything you need to know – from the ingredients you choose to the sneaky little techniques that make all the difference. Think of me as your personal cookie coach, sharing all the tips I've learned (and maybe a few fails along the way!) to help you bake perfect, gourmet cookies every single time. No more guessing, no more flat cookies – just pure, buttery, delicious success. Ready to get started?
It All Starts with Your Ingredients: Quality is King
You can't build a strong house with flimsy materials, and you can't bake perfect cookies with subpar ingredients. This is the absolute first step to elevating your cookies from homemade to gourmet.
Butter: This is the heart and soul of many cookies. Always use unsalted butter. Why unsalted? Because the amount of salt in salted butter can vary between brands, making it hard to control the saltiness of your cookies. Using unsalted butter lets you add exactly the right amount of salt called for in the recipe. Make sure your butter is at the correct temperature – usually room temperature, which means it's soft enough to leave a slight indentation when pressed but not greasy or melted.
Sugar: Different sugars do different things! Granulated sugar helps with spread and crispness, while brown sugar (light or dark) adds moisture, chewiness, and that lovely caramel flavor. Using a mix often gives the best texture. Make sure your brown sugar is soft and free of hard clumps.
Flour: All-purpose flour is standard for most cookie recipes. While sifting isn't always necessary, accurately measuring your flour is crucial. Don't scoop the flour directly from the bag with your measuring cup; this packs it down and you'll end up with too much flour, resulting in dry, dense cookies. Gently spoon the flour into your measuring cup and level it off with a straight edge (like the back of a knife).
Eggs: Eggs provide structure and richness. Like butter, they're usually best used at room temperature. This helps them emulsify better with the butter and sugar, leading to a more uniform dough. If you forget to take them out ahead of time, you can quickly warm them by placing them in a bowl of warm (not hot!) water for 5-10 minutes.
Vanilla Extract: A good vanilla extract makes a huge difference. Skip the imitation stuff if you can. Pure vanilla extract adds depth and enhances the flavor of all the other ingredients. Ready to add this game-changer to your routine? Shop for Nielsen-Massey Pure Vanilla Extract on Amazon!
The Art and Science of Mixing Your Dough
Mixing isn't just about getting everything combined; it's about how you combine it. The order and technique matter!
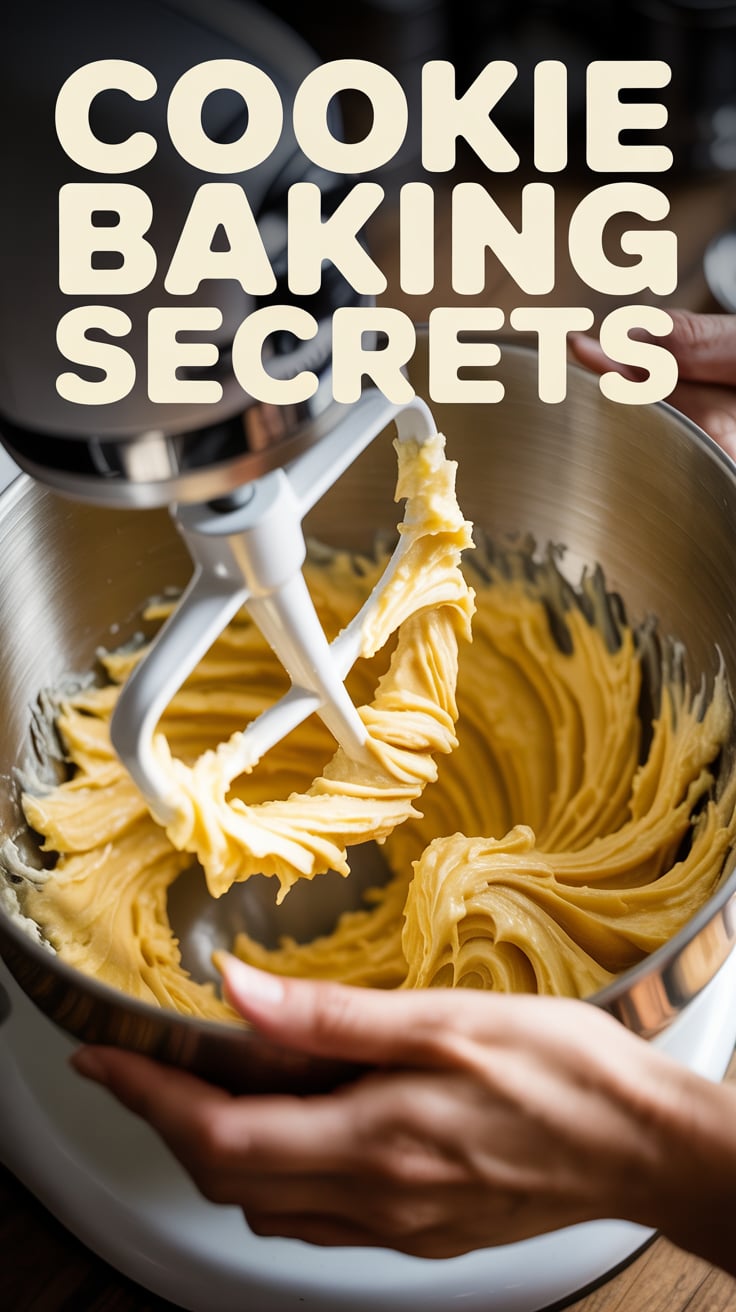
Creaming Butter and Sugar: This is often the first step. You want to beat the softened butter and sugar together until the mixture is light and fluffy, and the color has lightened significantly (this takes several minutes, often 3-5, especially in a stand mixer). This process incorporates air, which helps your cookies rise and gives them a tender texture. Don't rush this step!
Adding Eggs: Add eggs one at a time, beating well after each addition, until the yolk is fully incorporated before adding the next. This helps create a smooth emulsion.
Adding Dry Ingredients: This is where you need to be careful not to overmix. Once you add the flour mixture, mix just until the dry ingredients are incorporated. Overmixing develops the gluten in the flour, which can lead to tough, dense cookies. Stop mixing when you still see a few streaks of flour; you can finish mixing by hand.
Incorporating Add-ins: If adding chocolate chips, nuts, or other goodies, stir them in on low speed or by hand until evenly distributed. For premium results, use high-quality add-ins. Ready to see what the hype is about with gourmet chocolate? Check out DOUzzle 60% Cacao Baking Chips here! And speaking of making mixing easier, especially the creaming step, a good stand mixer is a total game-changer if you bake often.
Find out more about this must-have appliance! Shop for a KitchenAid Stand Mixer on Amazon!
Temperature is Your Best Friend (Seriously!)
This is one of the most overlooked aspects of cookie baking, and it makes a massive difference, especially if you struggle with flat cookies.
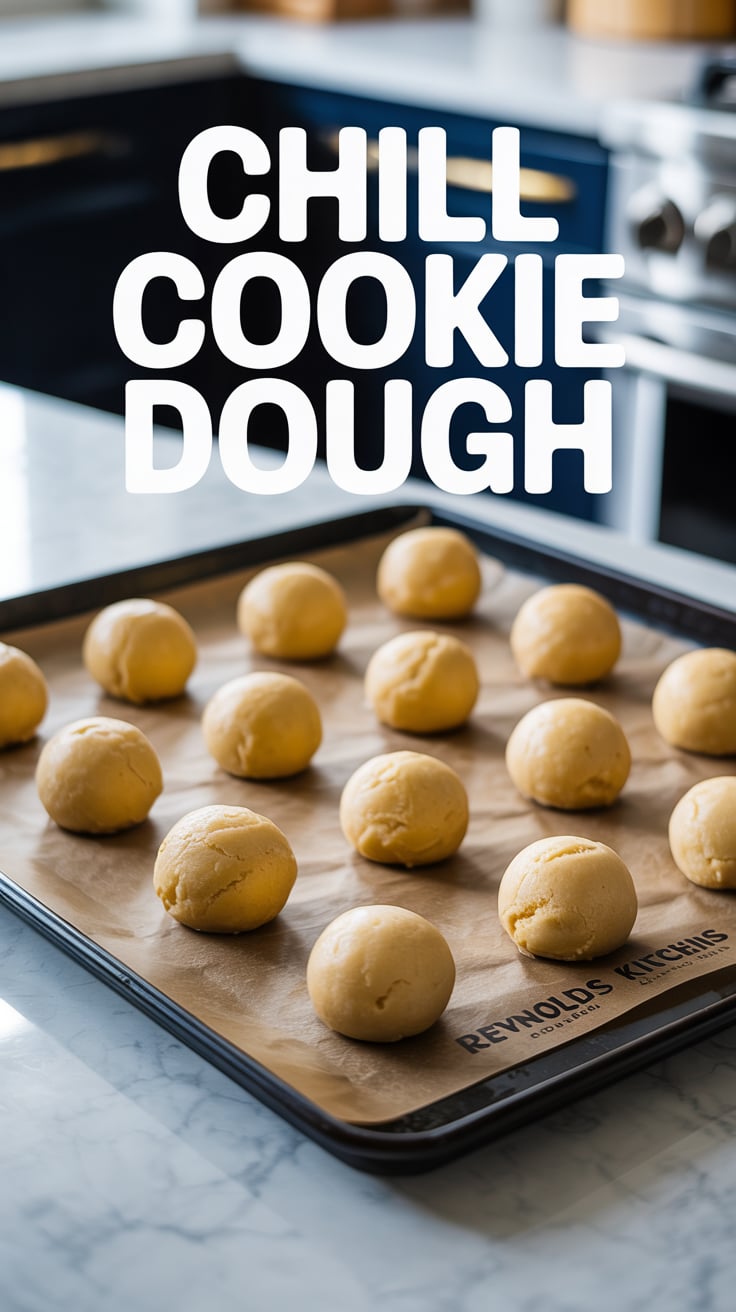
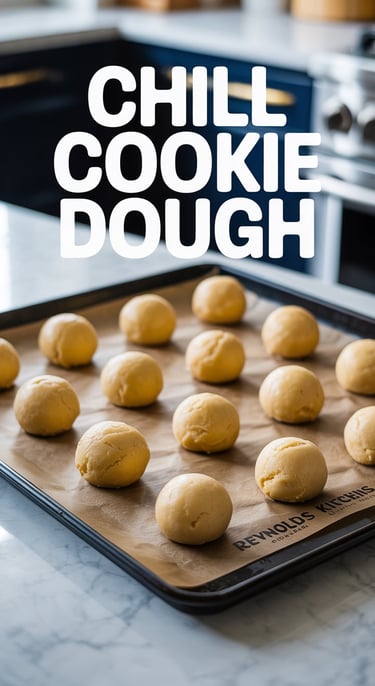
Chill Your Dough! Unless a recipe specifically tells you not to (like for some thin, crispy cookies), chilling your cookie dough is a non-negotiable step for achieving delicious, thick, and chewy cookies. Why?
It solidifies the fat (butter), which means the cookies spread less in the oven.
It allows the flour to hydrate, resulting in a more tender crumb.
It gives the flavors a chance to meld and deepen.
Chill your dough for at least 30 minutes, but ideally several hours or even overnight (up to 72 hours!). You can chill the whole batch or scoop balls onto a tray and chill them.
Preheat Your Oven Properly: This seems obvious, but are you sure your oven is the temperature you set it to? Oven temperatures can fluctuate wildly, sometimes by as much as 50 degrees or more! An inaccurate oven is a prime suspect for uneven baking or cookies that spread too much or too little. Always give your oven plenty of time to preheat (at least 15-20 minutes) and consider using an oven thermometer. Struggling with inconsistent oven temps? This might be your holy grail. Grab a Alpha Products Oven Thermometer now!
Shaping and Spacing for Success
Getting your cookies uniform in size and shape helps them bake evenly.
Use a Cookie Scoop: This is one of my favorite tools. Using a cookie scoop ensures that each cookie is roughly the same size and shape, which means they'll all be done baking around the same time. Plus, it's much faster than rolling balls by hand. Different scoop sizes give you different cookie sizes.
Want perfectly uniform cookies every time? Click here to get a set of OXO Good Grips Cookie Scoops and start seeing results!Proper Spacing: Don't crowd your baking sheet! Leave enough space between each cookie (usually about 2 inches) to allow for spread and proper air circulation. If cookies are too close, they can merge into one giant cookie or bake unevenly.
Baking to Perfection: The Oven Dance
Okay, your dough is chilled, your oven is preheated (and accurate!), and your cookies are scooped and spaced. Now for the magic!
Use the Right Baking Sheet: Darker baking sheets absorb more heat and can lead to darker, potentially burnt bottoms. Lighter colored, heavy-gauge aluminum sheets are often preferred as they provide more even heat distribution. Using parchment paper or a silicone baking mat is also highly recommended. They prevent sticking, promote even browning on the bottom, and make cleanup a breeze.
Ready to upgrade your baking game? Grab a Nordic Ware Natural Aluminum Commercial Baker's Half Sheet now! And don't forget the parchment paper!
Ready to stock up on this essential non-stick helper? Shop Reynolds Kitchens Parchment Paper on Amazon!Know When They're Done: This is key! For most cookies, you're looking for the edges to be set and lightly golden, but the center should still look slightly soft and perhaps a little underbaked. Cookies continue to cook slightly on the hot baking sheet after you take them out of the oven. Taking them out just before they look fully done in the center is the secret to chewy cookies. If they look completely set and golden all over, they'll likely be hard once cooled.
Rotate Your Pans: Ovens often have hot spots. For the most even baking, rotate your baking sheet halfway through the baking time.
The Critical Cooling Stage
Don't just dump your perfectly baked cookies onto a cold surface! How you cool them matters.
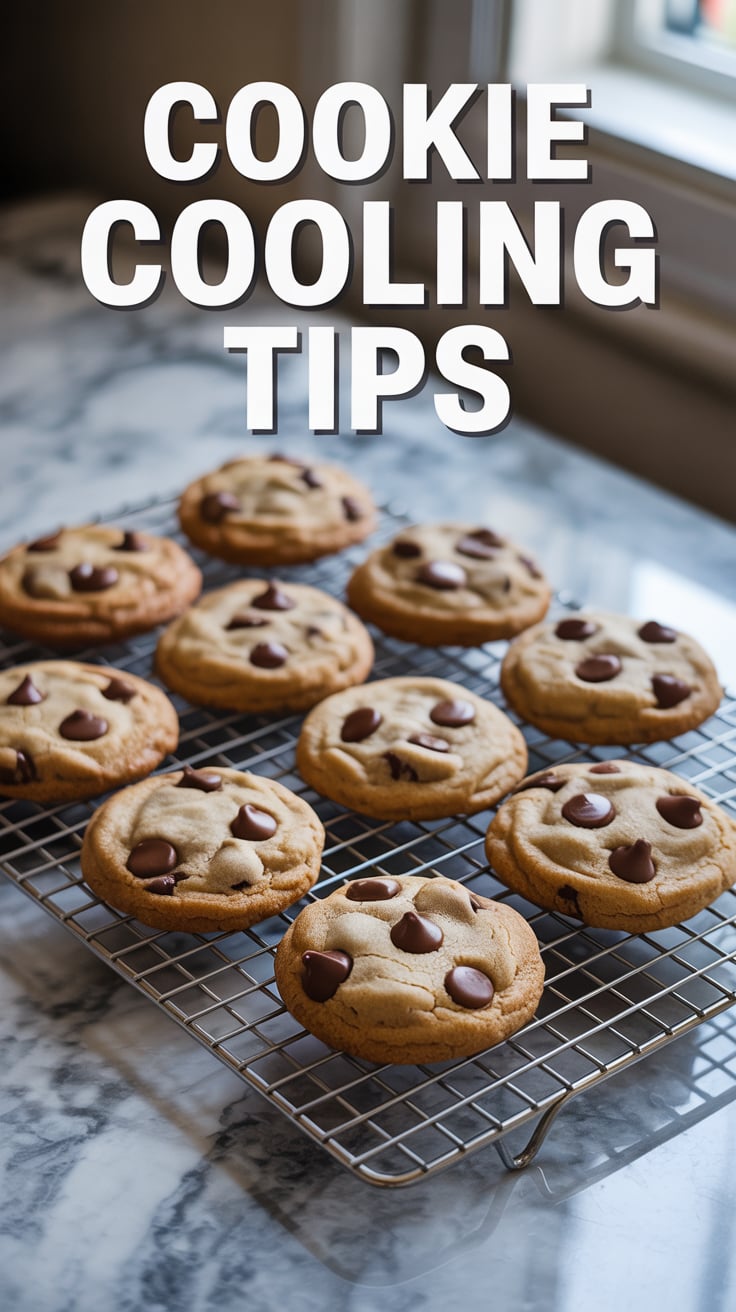
Initial Cooling on the Sheet: Let your cookies rest on the hot baking sheet for a few minutes after taking them out of the oven (the exact time depends on the recipe, usually 2-10 minutes). This allows them to set up slightly and prevents them from falling apart when you move them.
Transfer to a Cooling Rack: After the initial resting period, carefully transfer the cookies to a wire cooling rack to cool completely. Cooling racks allow air to circulate around the cookies, preventing the bottoms from getting soggy and helping them cool down evenly.
Don't let your bottoms get soggy! Shop a Wilton Cooling Rack on Amazon!
Troubleshooting Common Cookie Problems
Even with the best intentions, cookies can be tricky. Here are some quick fixes for common issues:
Flat Cookies:
Butter was too soft/melted.
Dough wasn't chilled enough (or at all).
Oven temperature is too low (use an oven thermometer!).
Too much sugar or not enough flour (measure accurately!).
Hard/Dry Cookies:
Too much flour or not enough fat/liquid.
Overmixed the dough (developed too much gluten).
Baked for too long.
Stored improperly (not in an airtight container).
Cookies Didn't Spread:
Butter was too cold.
Not enough fat or too much flour.
Oven temperature is too high.
Burnt Bottoms:
Oven temperature too high (especially the bottom element).
Using a dark baking sheet.
Not using parchment paper or a silicone mat.
Baked for too long.

Elevating to Gourmet: Little Touches, Big Impact
Once you've mastered the basics, small details can take your cookies from great to truly gourmet.
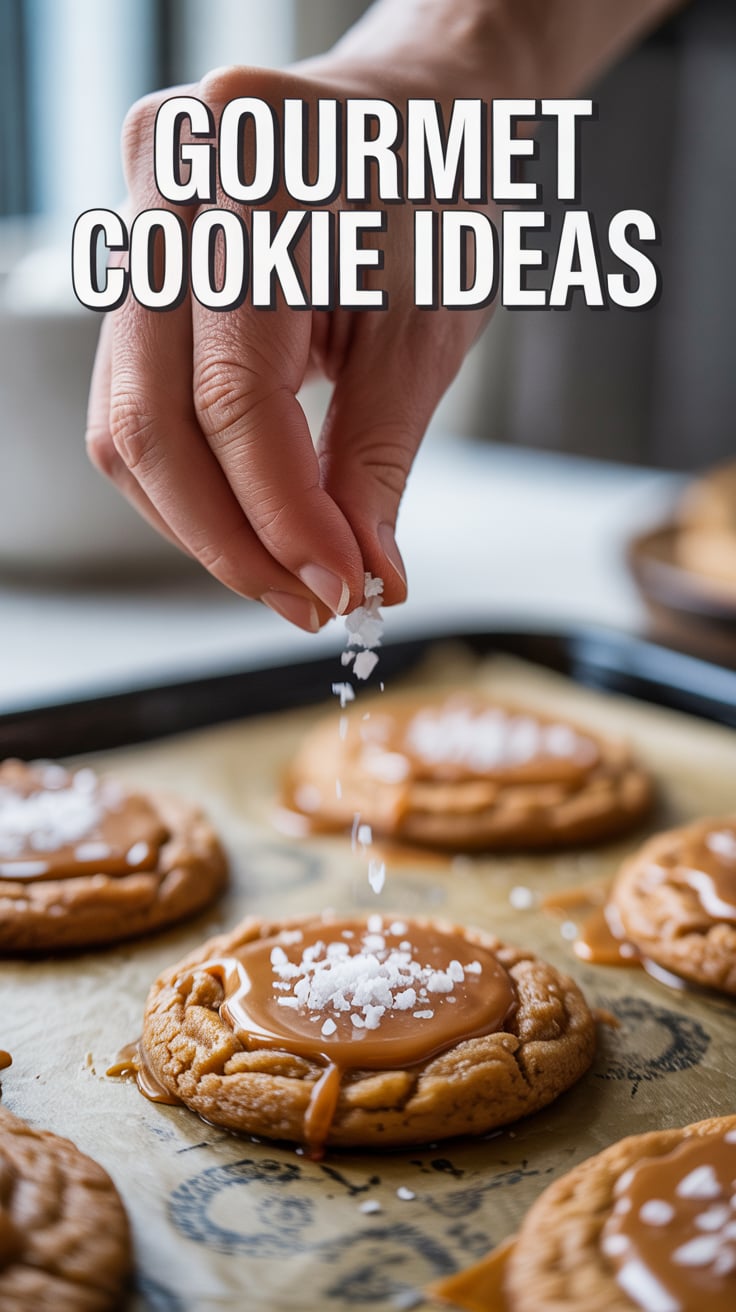
High-Quality Add-ins: We already talked about good chocolate and vanilla, but think about other additions too. Use quality nuts (toast them first!), dried fruits, or other candies.
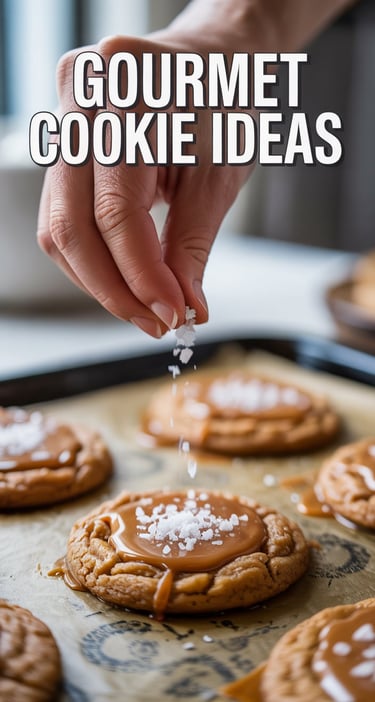
Finishing Salt: A sprinkle of flaky sea salt on top of chocolate chip or caramel-based cookies right when they come out of the oven is a game-changer. It enhances the flavors and adds a lovely textural contrast.
Elevate your cookies instantly! Ready to see what the hype is about with Maldon Sea Salt Flakes? Check it out here!Dipping or Drizzling: A simple dip or drizzle of melted chocolate (use good quality chocolate, not chips!) can make cookies feel extra special. Want premium chocolate for melting and dipping? Shop Merckens Melting Wafers on Amazon!
Pros and Cons of Baking Gourmet Cookies at Home
Let's talk honestly about what you're signing up for!
Pros:
Ultimate Satisfaction: There's nothing quite like the feeling of pulling a batch of perfect cookies out of your own oven. You made that magic happen!
Customization: You have complete control over the ingredients. Use your favorite chocolate, add extra nuts, play with flavor extracts, swap sugars – the possibilities are endless.
Freshness: You can eat them warm! Plus, you know exactly how fresh they are.
The Amazing Smell: Your house will smell absolutely incredible while they're baking. It's pure hygge!
Often More Affordable: While gourmet ingredients cost more than basic ones, making a batch of cookies at home is usually significantly cheaper than buying equivalent quality cookies from a bakery.
Cons:
Time and Effort: Baking takes time – measuring, mixing, chilling, baking, cooling, cleaning. It's definitely more involved than opening a store-bought package.
Potential for Failure: As we discussed, sometimes things don't go as planned. Flat cookies happen! It can be frustrating when they don't turn out perfectly.
The Mess: Baking often involves flour dust, sticky dough, and dirty dishes. Cleanup is part of the process.
Self-Control (or Lack Thereof!): Having a big batch of delicious, warm cookies readily available can be very tempting!
Disclaimer
This blog post provides general tips and recommendations based on personal experience and common baking practices. I am not a professional baker or a registered dietitian. Always refer to specific recipe instructions, adjust baking times based on your oven, and consult with a professional for dietary or health advice. This post may contain affiliate links, which means I might earn a small commission if you purchase products through the links provided, at no extra cost to you. This helps support the blog.
Final Thoughts
Phew! We covered a lot, didn't we? Baking perfect gourmet cookies every time might seem like a lofty goal, but by focusing on quality ingredients, understanding the role of temperature, using the right tools, and paying attention to those small but mighty techniques, you're well on your way.
Remember, baking is also about practice and having fun. Don't get discouraged by a less-than-perfect batch. Learn from it, try again, and celebrate the delicious successes! Soon, you'll be known among your friends and family as the go-to person for amazing homemade cookies.
So, grab your apron, choose a recipe, and give these tips a try. You've got this!
What's your biggest struggle when baking cookies? Share it in the comments below – maybe we can troubleshoot together!

BEST Gourmet Cookie Recipes
Contact:
bestgourmetcokies@gmail.com
Best Gourmet Cookie Recipes © 2025. All rights reserved.