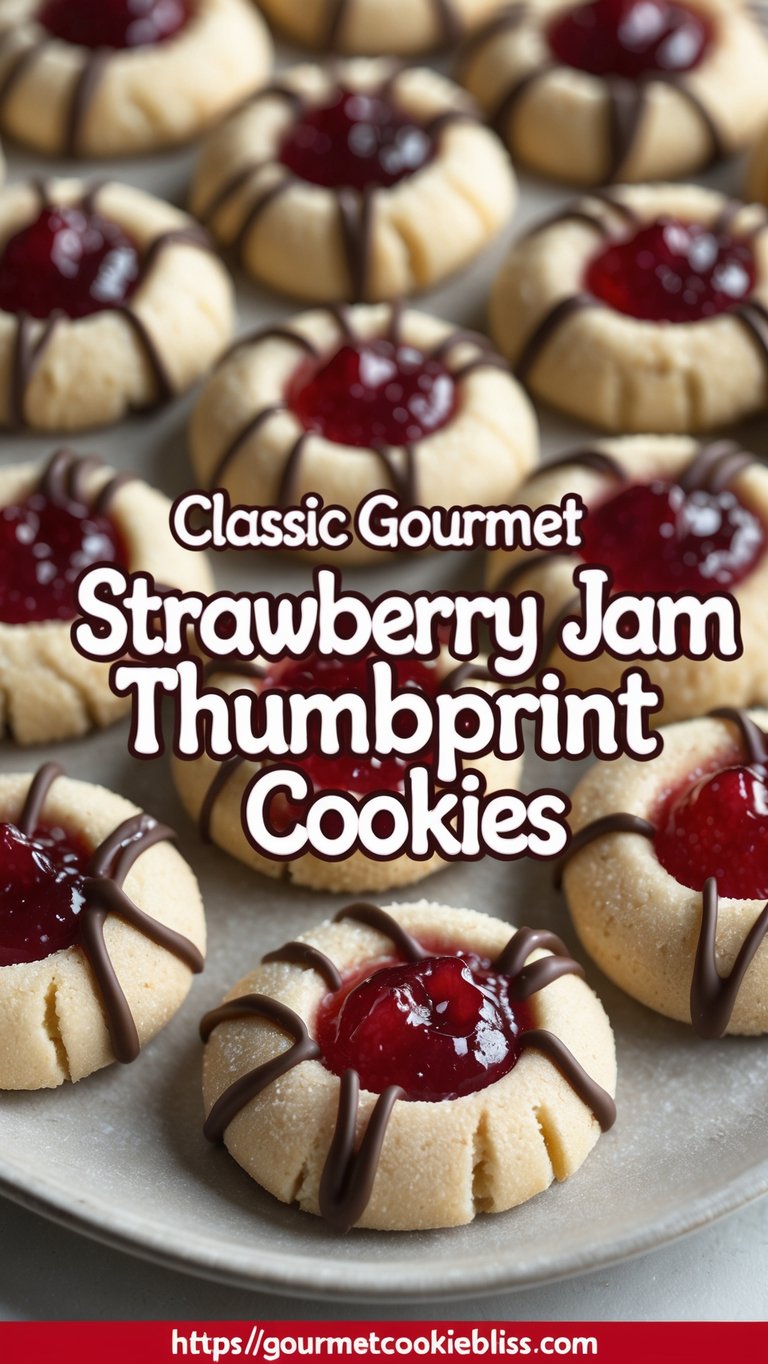
Classic Gourmet Strawberry Jam Thumbprint Cookies
Tired of the same old boring cookies? Elevate your baking game with these irresistible Classic Gourmet Strawberry Jam Thumbprint Cookies – click the link to visit the site and be taken to the BEST Gourmet Thumbprint Cookies Recipe! ✨ These buttery, melt-in-your-mouth treats, filled with vibrant strawberry jam, are surprisingly easy to make and perfect for any occasion. You'll discover a detailed, step-by-step guide with pro tips to ensure baking success. #ThumbprintCookies #GourmetCookies #StrawberryJam #CookieRecipe #Baking #Dessert #Homemade #EasyRecipe #Cookies #BakingTips
3/17/20255 min read

Classic Gourmet Strawberry Jam Thumbprint Cookies
Introduction: The Timeless Appeal of Thumbprint Cookies
There's something wonderfully nostalgic about thumbprint cookies. These delicate, buttery treats, filled with a sweet jewel-toned center of jam, are a classic for a reason. They're simple to make, yet offer a sophisticated flavor and texture combination that pleases everyone. This recipe elevates the traditional thumbprint with a focus on high-quality ingredients and a few key techniques to create truly gourmet results. These aren't your average bakery cookies; they're a delicious homemade experience you'll want to recreate again and again.
Why You'll Love This Recipe
These strawberry jam thumbprint cookies offer a delightful blend of textures and tastes. The cookie base is rich and buttery, with a delicate crumb that practically melts in your mouth. The vibrant strawberry jam filling provides a sweet and slightly tart counterpoint, creating a perfectly balanced bite.
Here’s why this recipe will become a favorite:
Simple Elegance: These cookies look impressive, but they're surprisingly easy to make, even for novice bakers.
Exceptional Flavor: Using quality ingredients makes all the difference. The combination of real butter, pure vanilla extract, and premium strawberry jam elevates these cookies to gourmet status.
Perfect for Any Occasion: Whether it's a holiday gathering, a bake sale, or a simple afternoon treat, these cookies are always a welcome addition.
Versatile Recipe: Easy to customize and make different variations.
Tools You'll Need
To make these delicious thumbprint cookies, you'll need a few essential kitchen tools. Having the right equipment makes the baking process smoother and more enjoyable.
Baking Sheets: A good set of baking sheets, like these Nordic Ware Natural Aluminum Commercial Baker's Half Sheets, ensures even baking and prevents sticking.
Mixing Bowls: A set of various-sized mixing bowls is essential for any baker. I recommend these Pyrex Smart Essentials Mixing Bowl Set.
Electric Mixer: A stand mixer or hand mixer makes creaming the butter and sugar a breeze. The KitchenAid Artisan Series 5-Qt. Stand Mixer is a fantastic investment.
Measuring Cups and Spoons: Accurate measurements are crucial for baking success. This Bellemain Stainless Steel Measuring Cup Set is a great option.
Cookie Scoop: A small cookie scoop, like this OXO Good Grips Small Cookie Scoop, helps create uniformly sized cookies.
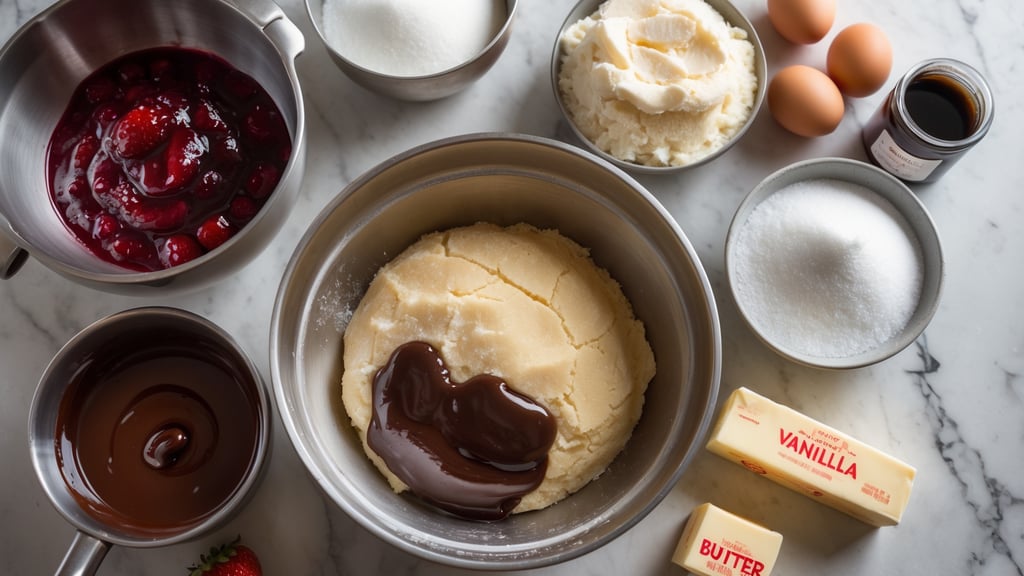
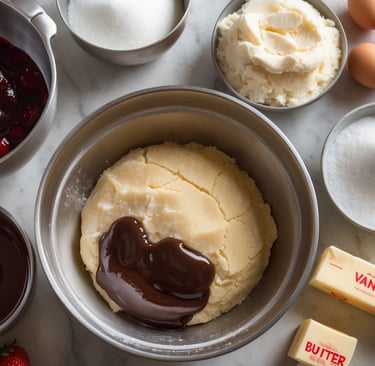
Ingredients You'll Need
The quality of your ingredients directly impacts the flavor of your cookies. Here's what you'll need, with some of my favorite brands:
All-Purpose Flour: 3 cups (I prefer King Arthur Unbleached All-Purpose Flour for its consistent results.)
Salt: ½ teaspoon
Unsalted Butter: 1 cup (2 sticks), softened (I recommend using a high-quality European-style butter, such as Kerrygold Pure Irish Butter, for its rich flavor.)
Granulated Sugar: 1 cup
Egg Yolks: 2 large
Pure Vanilla Extract: 1 teaspoon (Always use pure vanilla extract, not imitation. Nielsen-Massey Madagascar Bourbon Pure Vanilla Extract is my go-to.)
Strawberry Jam: ¾ cup (Choose a high-quality jam with a high fruit content. Bonne Maman Strawberry Preserves is a delicious option.)
Optional: Powdered sugar for Dusting
Step-by-Step Instructions
Let's bake some amazing cookies! Follow these instructions carefully for the best results.
Prep Time: 20 minutes
Bake Time: 12-15 minutes
Total Time: 35-40 minutes (plus cooling time)
Prepare the Dough: In a medium bowl, whisk together the flour and salt.
Cream Butter and Sugar: In a large bowl, using an electric mixer, cream together the softened butter and granulated sugar until light and fluffy (about 3-5 minutes).
Add Egg Yolks and Vanilla: Beat in the egg yolks one at a time, followed by the vanilla extract. Mix until well combined.
Gradually Add Dry Ingredients: Gradually add the flour mixture to the wet ingredients, mixing on low speed until just combined. Be careful not to overmix.
Chill the Dough: Divide the dough in half, flatten each half into a disc, wrap in plastic wrap, and chill in the refrigerator for at least 30 minutes. This step is crucial for preventing the cookies from spreading too much during baking.
Preheat Oven and Prepare Baking Sheets: Preheat your oven to 350°F (175°C). Line baking sheets with parchment paper.
Shape the Cookies: Roll the chilled dough into 1-inch balls. Place them on the prepared baking sheets, about 2 inches apart.
Create the Thumbprints: Use your thumb or the back of a small spoon to make an indentation in the center of each cookie.
Fill with Jam: Fill each indentation with about ½ teaspoon of strawberry jam. Don't overfill, or the jam may spill over during baking.
Bake: Bake for 12-15 minutes, or until the edges are lightly golden brown.
Cool: Let the cookies cool on the baking sheets for a few minutes before transferring them to a wire rack to cool completely.
Optional: Dust with powdered sugar after cooled
Tips for Perfect Cookies
Here are a few tips to help you achieve thumbprint cookie perfection:
Don't Overmix: Overmixing the dough can lead to tough cookies. Mix until just combined.
Chill the Dough: Chilling the dough is essential for preventing spreading and ensuring a nice, thick cookie.
Use a Cookie Scoop: A cookie scoop helps create uniform cookies that bake evenly.
Don't Overbake: The cookies should be lightly golden brown around the edges. They will continue to firm up as they cool.
Variations to Try
Once you've mastered the classic recipe, feel free to experiment with different flavors!
Raspberry Almond Thumbprints: Use raspberry jam instead of strawberry and add a ¼ teaspoon of almond extract to the dough.
Apricot Walnut Thumbprints: Use apricot jam and add finely chopped walnuts to the dough.
Lemon Curd Thumbprints: Skip the jam and fill with your favorite homemade or store-bought lemon curd after the cookies have baked and cooled. (Affiliate Link)
Why These Cookies Stand Out
These strawberry jam thumbprint cookies stand out because of the emphasis on quality ingredients and careful technique. The buttery, melt-in-your-mouth texture, combined with the sweet and vibrant strawberry jam, creates a truly unforgettable flavor experience. These aren't just cookies; they're a taste of homemade goodness, elevated to gourmet status.
Storing & Serving Suggestions
Storing: Store the cooled cookies in an airtight container at room temperature for up to 5 days. You can also freeze them for longer storage (up to 2 months). Thaw at room temperature before serving.
Serving: These cookies are delicious on their own, but they also pair well with a cup of tea, coffee, or a glass of cold milk. They're perfect for dessert, a snack, or a special occasion treat.
Final Thoughts
These Classic Gourmet Strawberry Jam Thumbprint Cookies are a testament to the fact that simple recipes can be extraordinary. With their delicate texture, delightful flavor, and beautiful presentation, they're sure to become a favorite in your baking repertoire. So gather your ingredients, preheat your oven, and prepare to bake a batch of these delicious treats! Don't forget to share your creations with friends and family – they're too good to keep to yourself!
Affiliate Disclaimer: This post contains affiliate links. As an Amazon Associate, I earn from qualifying purchases. This means that if you click on a link and make a purchase, I may receive a small commission at no extra cost to you. Thank you for supporting my blog!
Keywords:
Strawberry jam thumbprint cookies, thumbprint cookies, gourmet thumbprint cookies, classic thumbprint cookies, easy cookie recipe, homemade cookies, baking recipe, dessert recipe, strawberry cookies, cookie recipe.
BEST Gourmet Cookie Recipes
Contact:
bestgourmetcokies@gmail.com
Best Gourmet Cookie Recipes © 2025. All rights reserved.